Welcome!
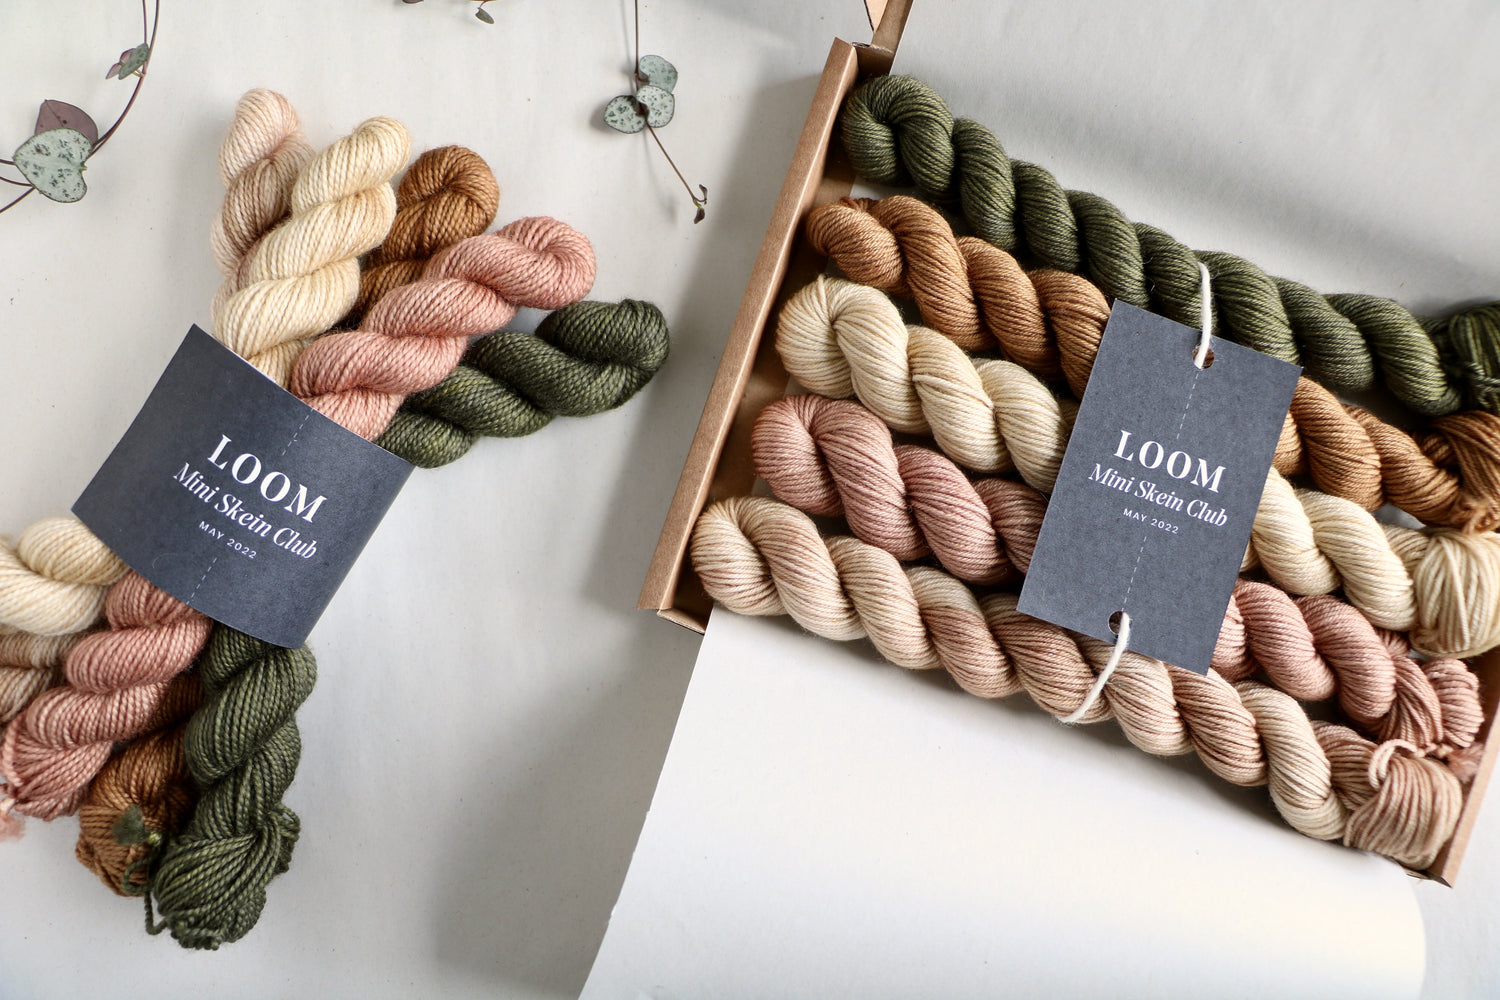
Mini Skein Club
Join the Mini Skein Club and receive a bundle of seasonal minis through your letterbox every month.
-
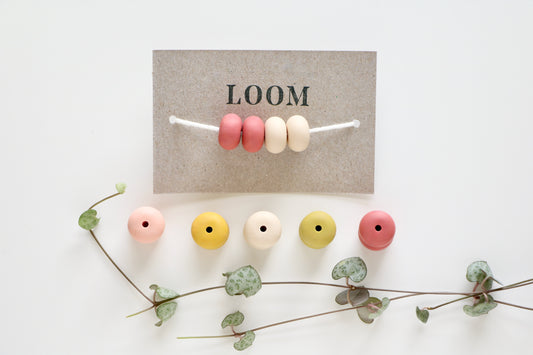
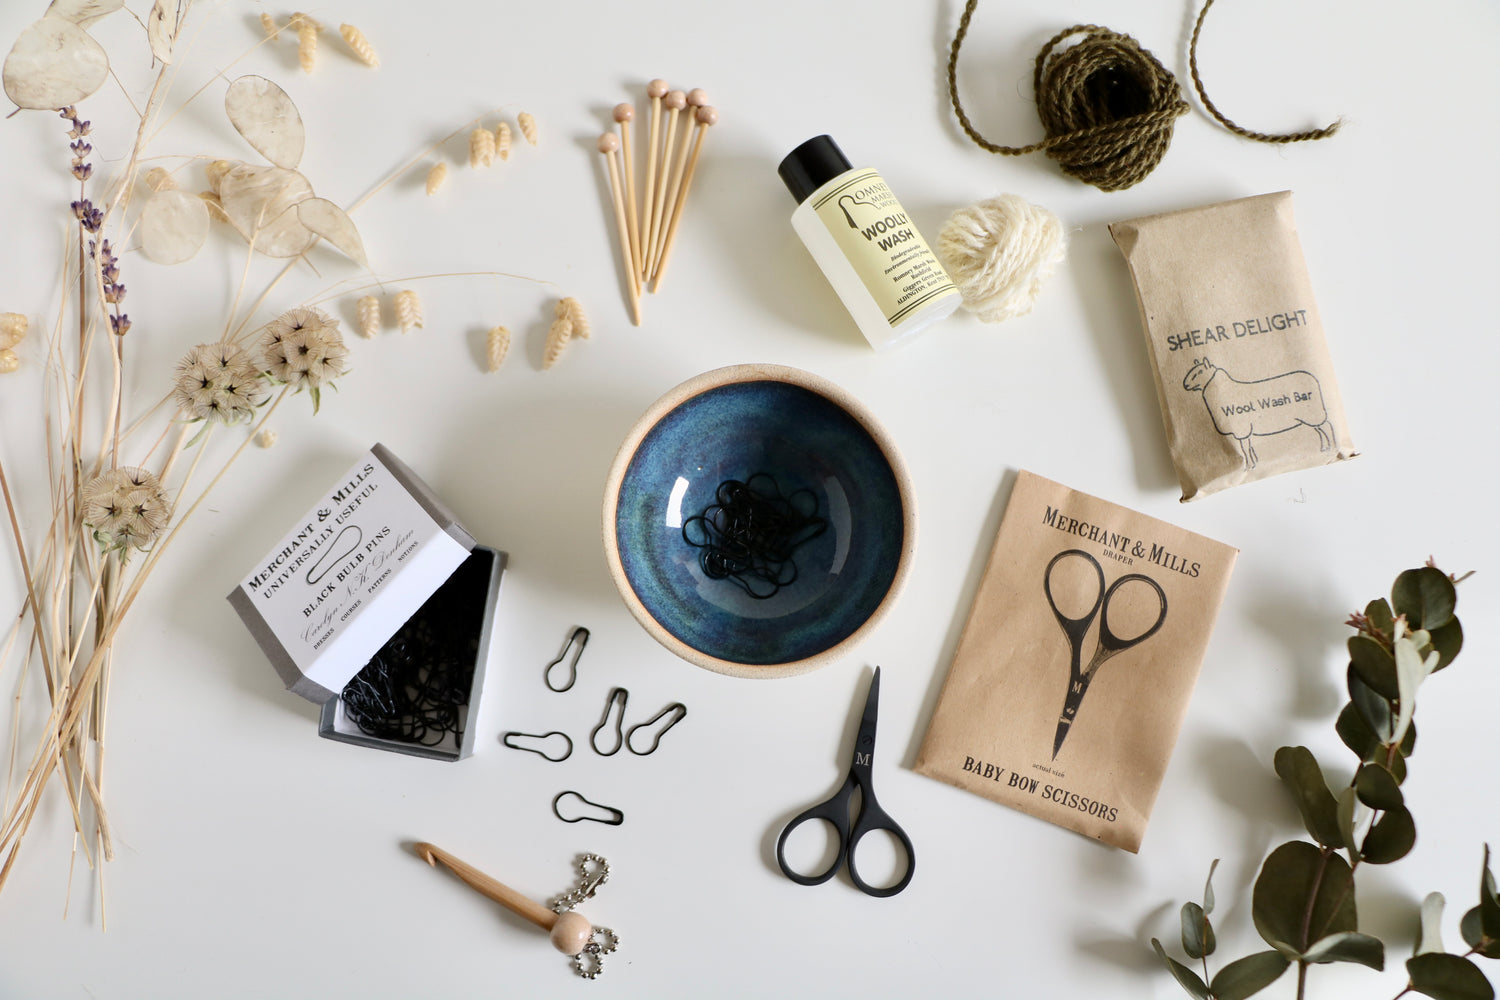
Minimal Stitch Stoppers (1 pair)
Vendor:LoomRegular price £3.00 GBPRegular priceUnit price per -
 Sold out
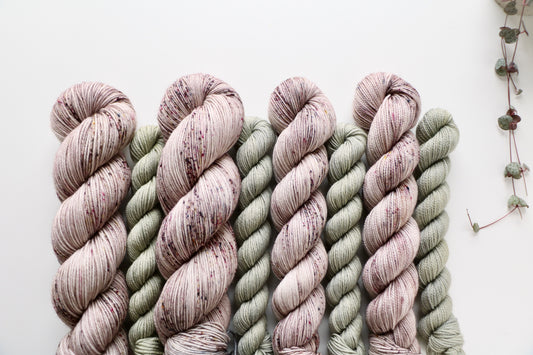
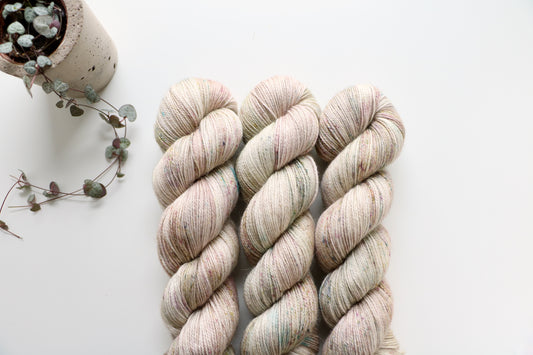
Hydrangea // Sock Sets
Vendor:LoomRegular price From £15.00 GBPRegular priceUnit price per -
 Sold out
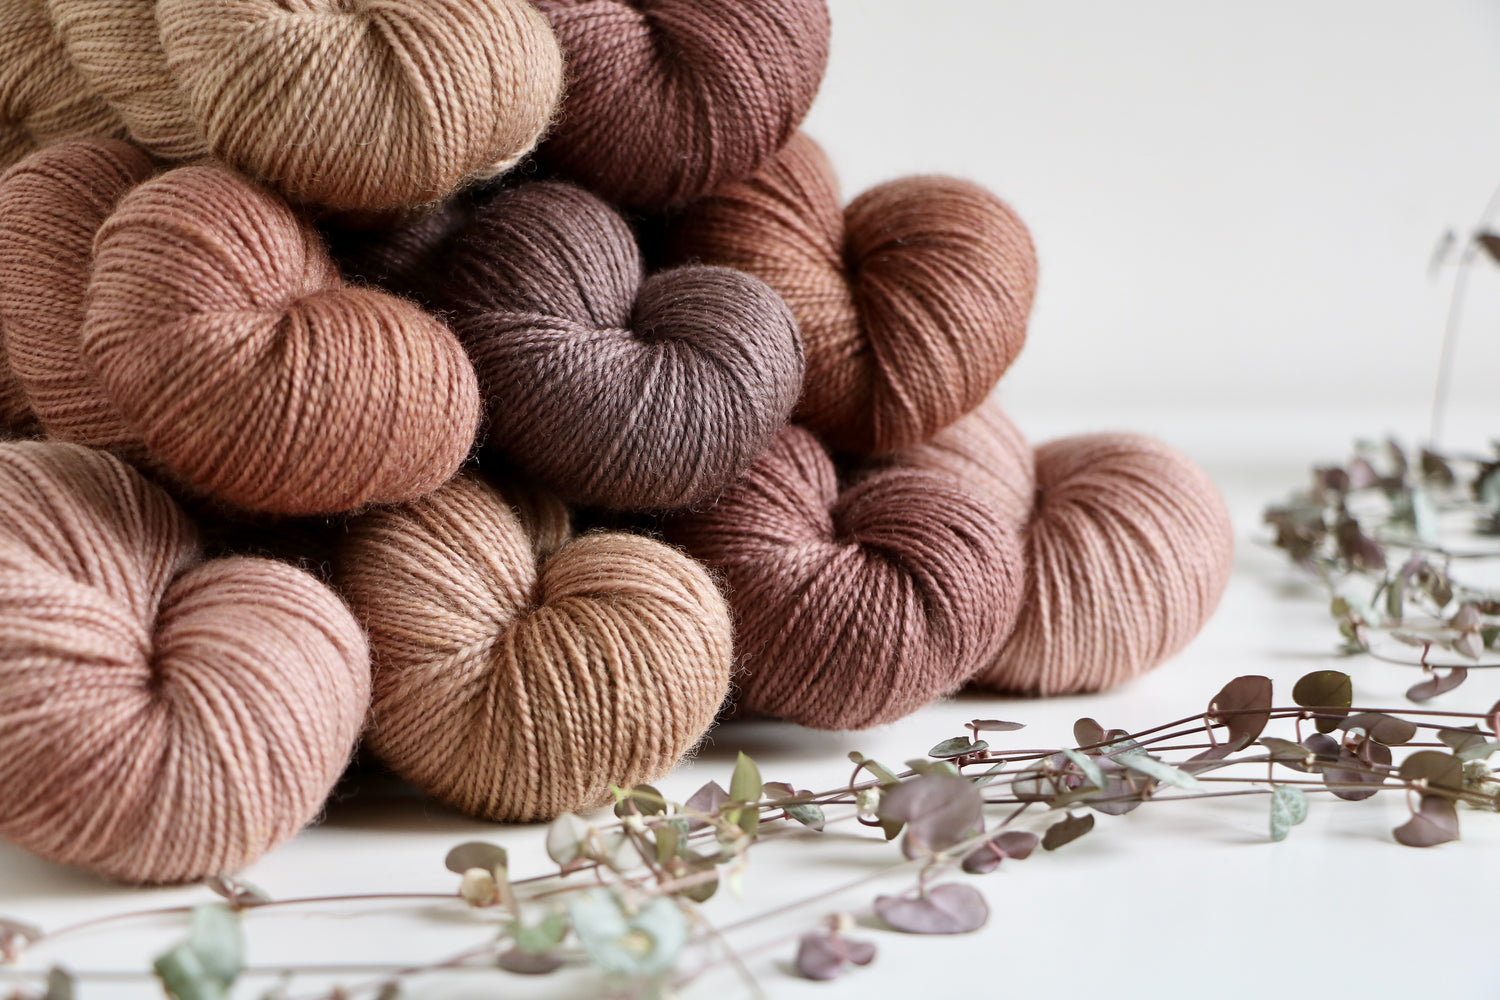
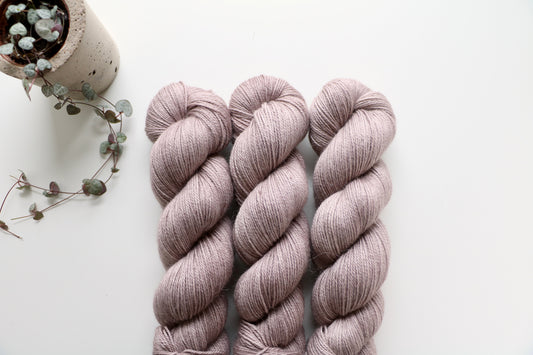
Gossamer // Alpaca Silk Cashmere
Vendor:LoomRegular price £22.00 GBPRegular priceUnit price per -
 Sold out
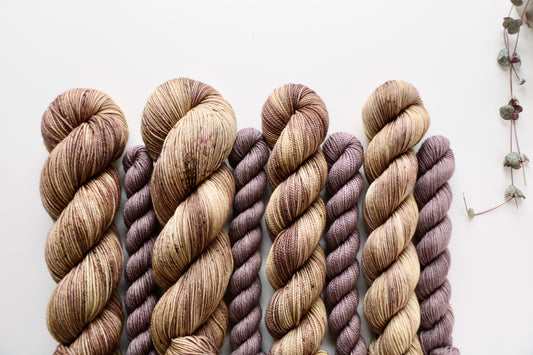
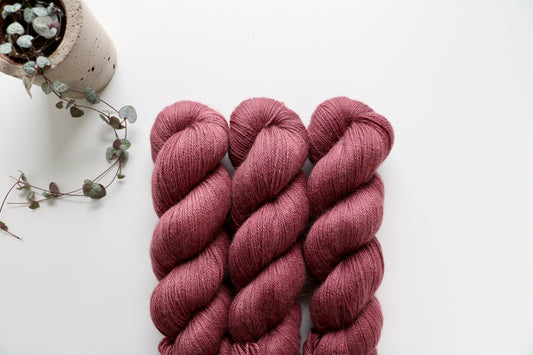
Tayberry // Alpaca Silk Cashmere
Vendor:LoomRegular price £22.00 GBPRegular priceUnit price per -
Golden Hour // Sock Sets
Vendor:LoomRegular price From £15.00 GBPRegular priceUnit price per -
Posy // Sock Sets
Vendor:LoomRegular price From £15.00 GBPRegular priceUnit price per -
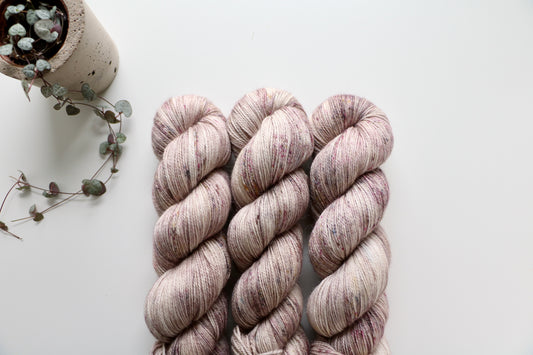
 Sold out
Posy // Alpaca Silk Cashmere
Vendor:LoomRegular price £22.00 GBPRegular priceUnit price per -
Ceramic Knitting Notions Dish
Vendor:Pantyscallog PotteryRegular price £12.00 GBPRegular priceUnit price per -
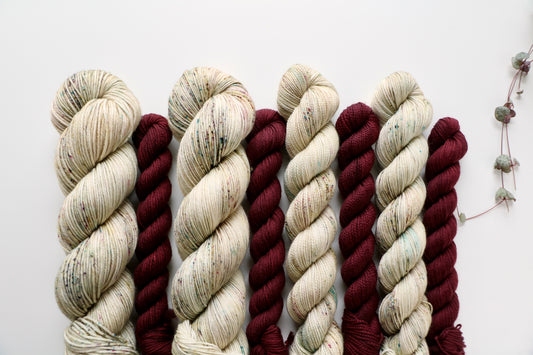
 Sold out
Hydrangea // Alpaca Silk Cashmere
Vendor:LoomRegular price £22.00 GBPRegular priceUnit price per -
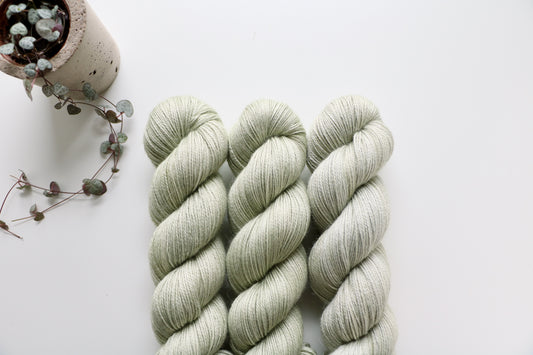
Spruce // Alpaca Silk Cashmere
Vendor:LoomRegular price £22.00 GBPRegular priceUnit price per